Gel Plate Printing
I wanted to try gel plate printing to reimagine my original portraits. After many trials and mistakes, I found a method that suits me and gives me the results I was after.
First, I apply acrylic paint sparingly to a gel plate using a brayer. I spread it as evenly as I can to ensure proper coverage. Next, I place a laser-printed colour image face down on the acrylic paint and smooth it for about 10 seconds before carefully peeling it away. This will leave an impression of the image on the gel plate.
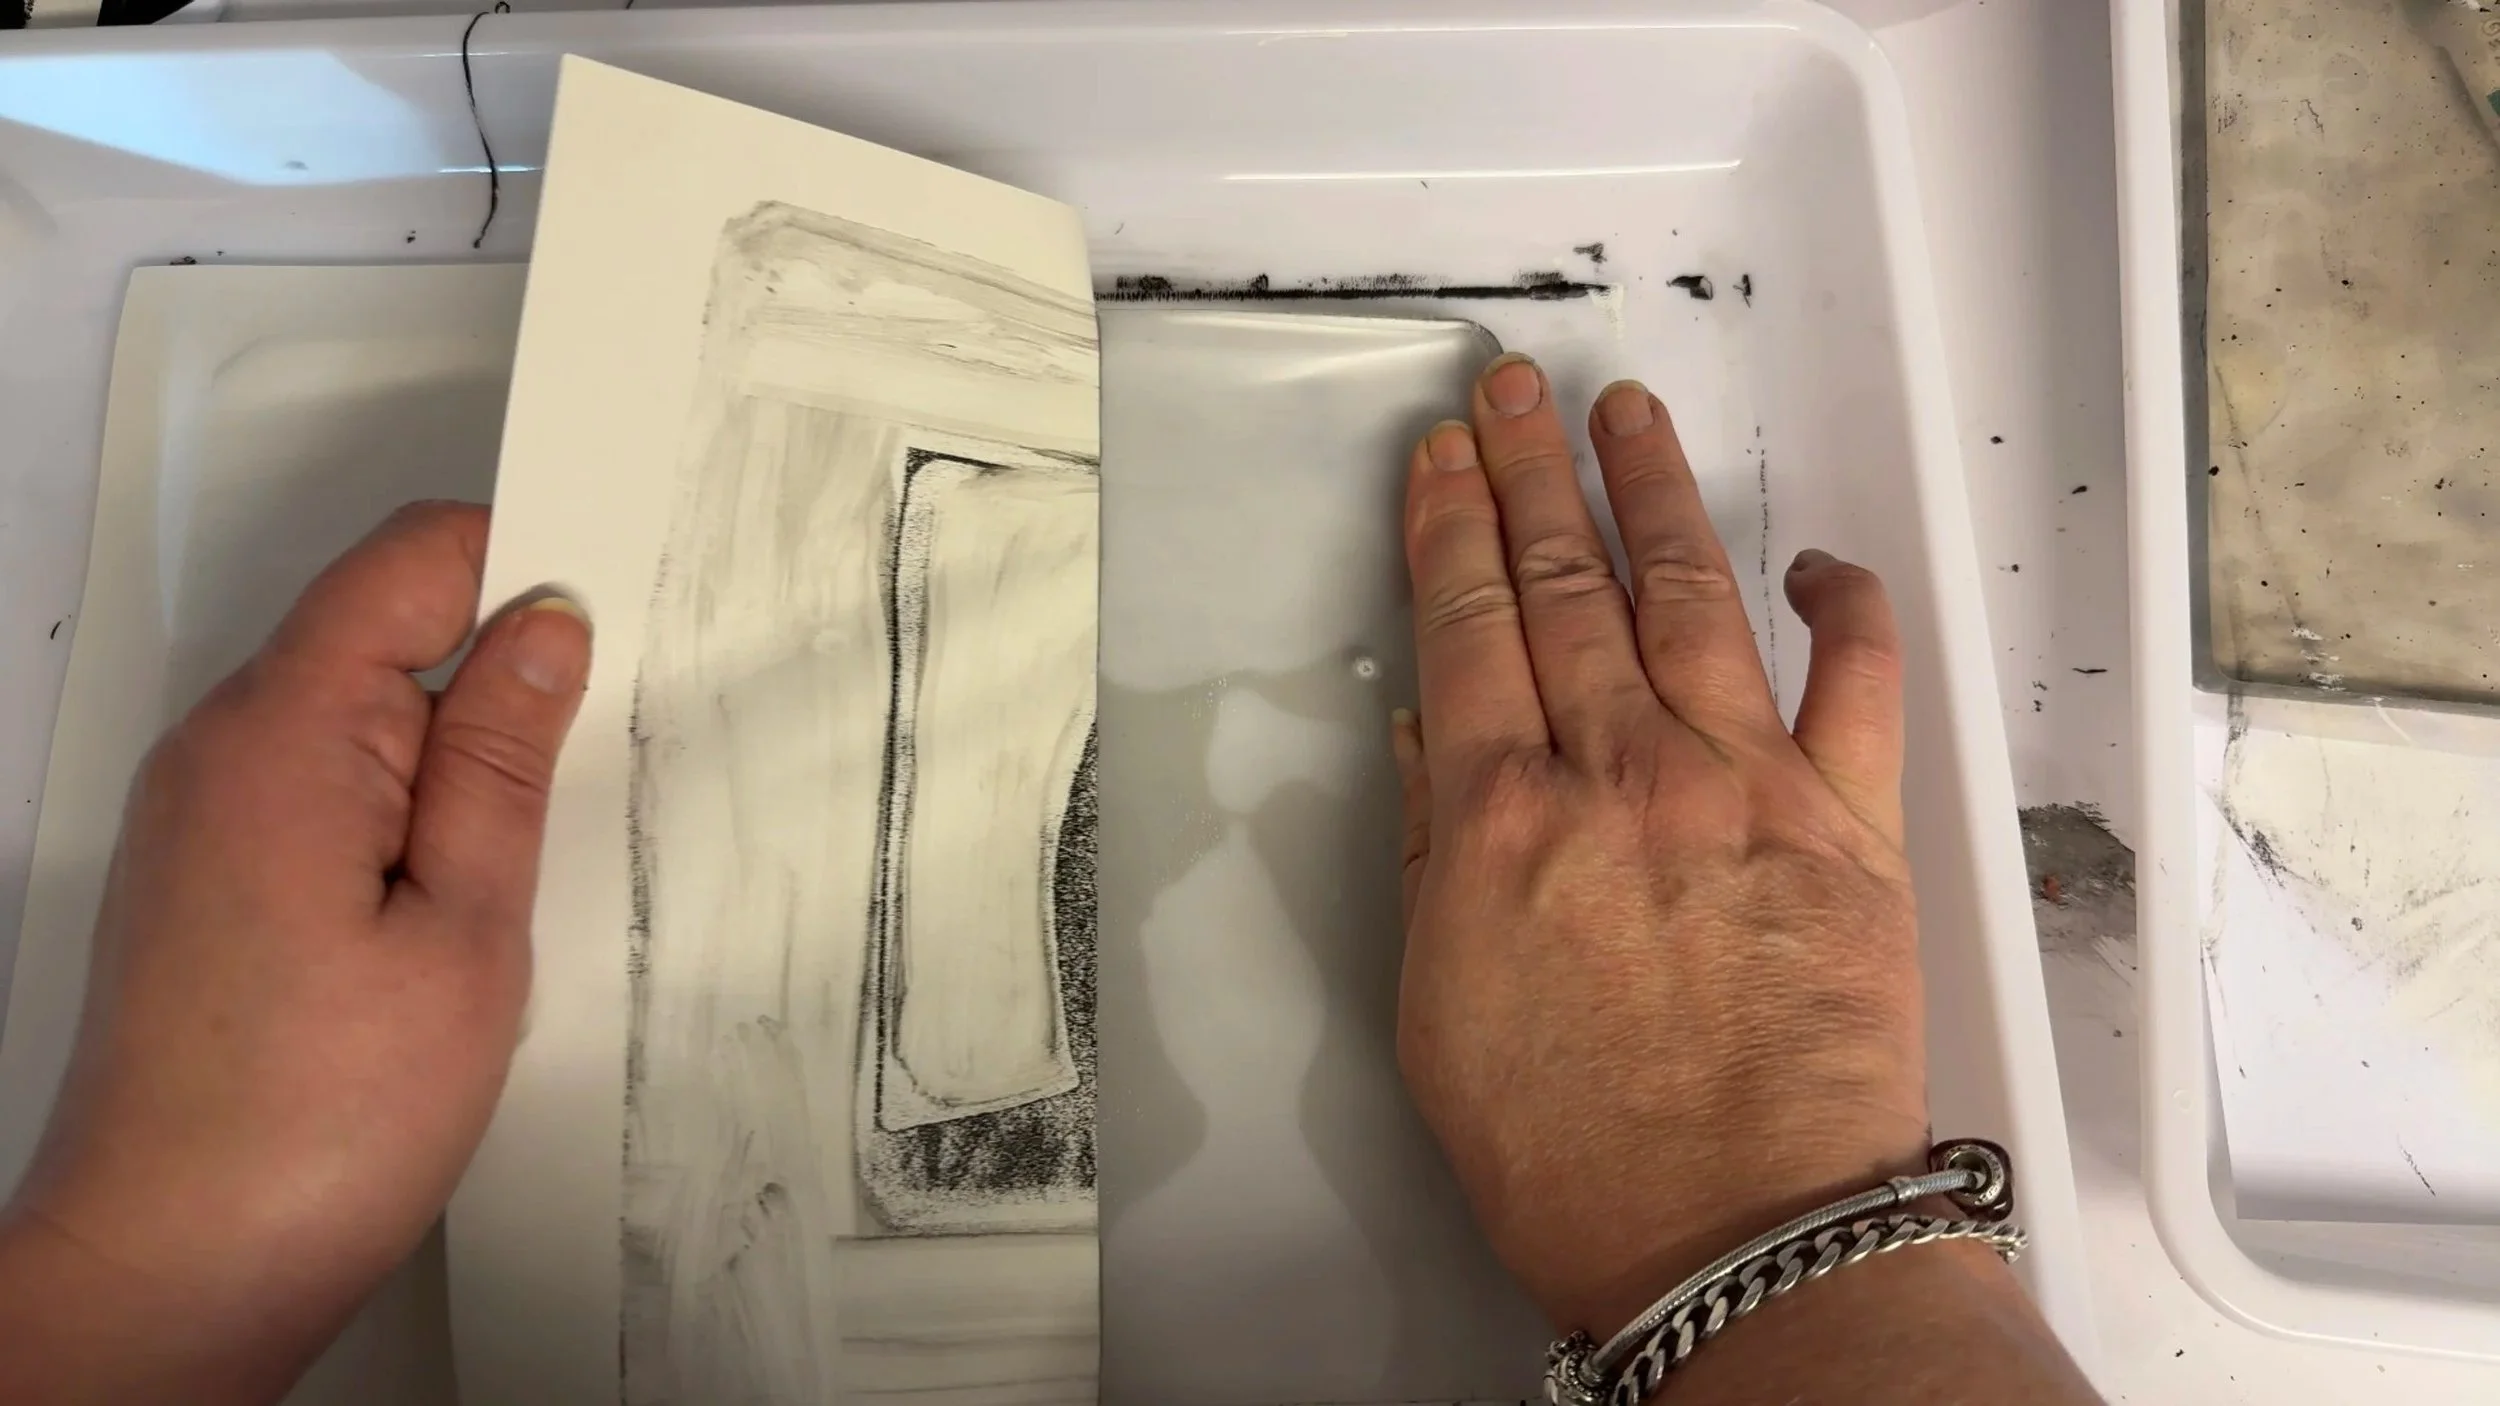
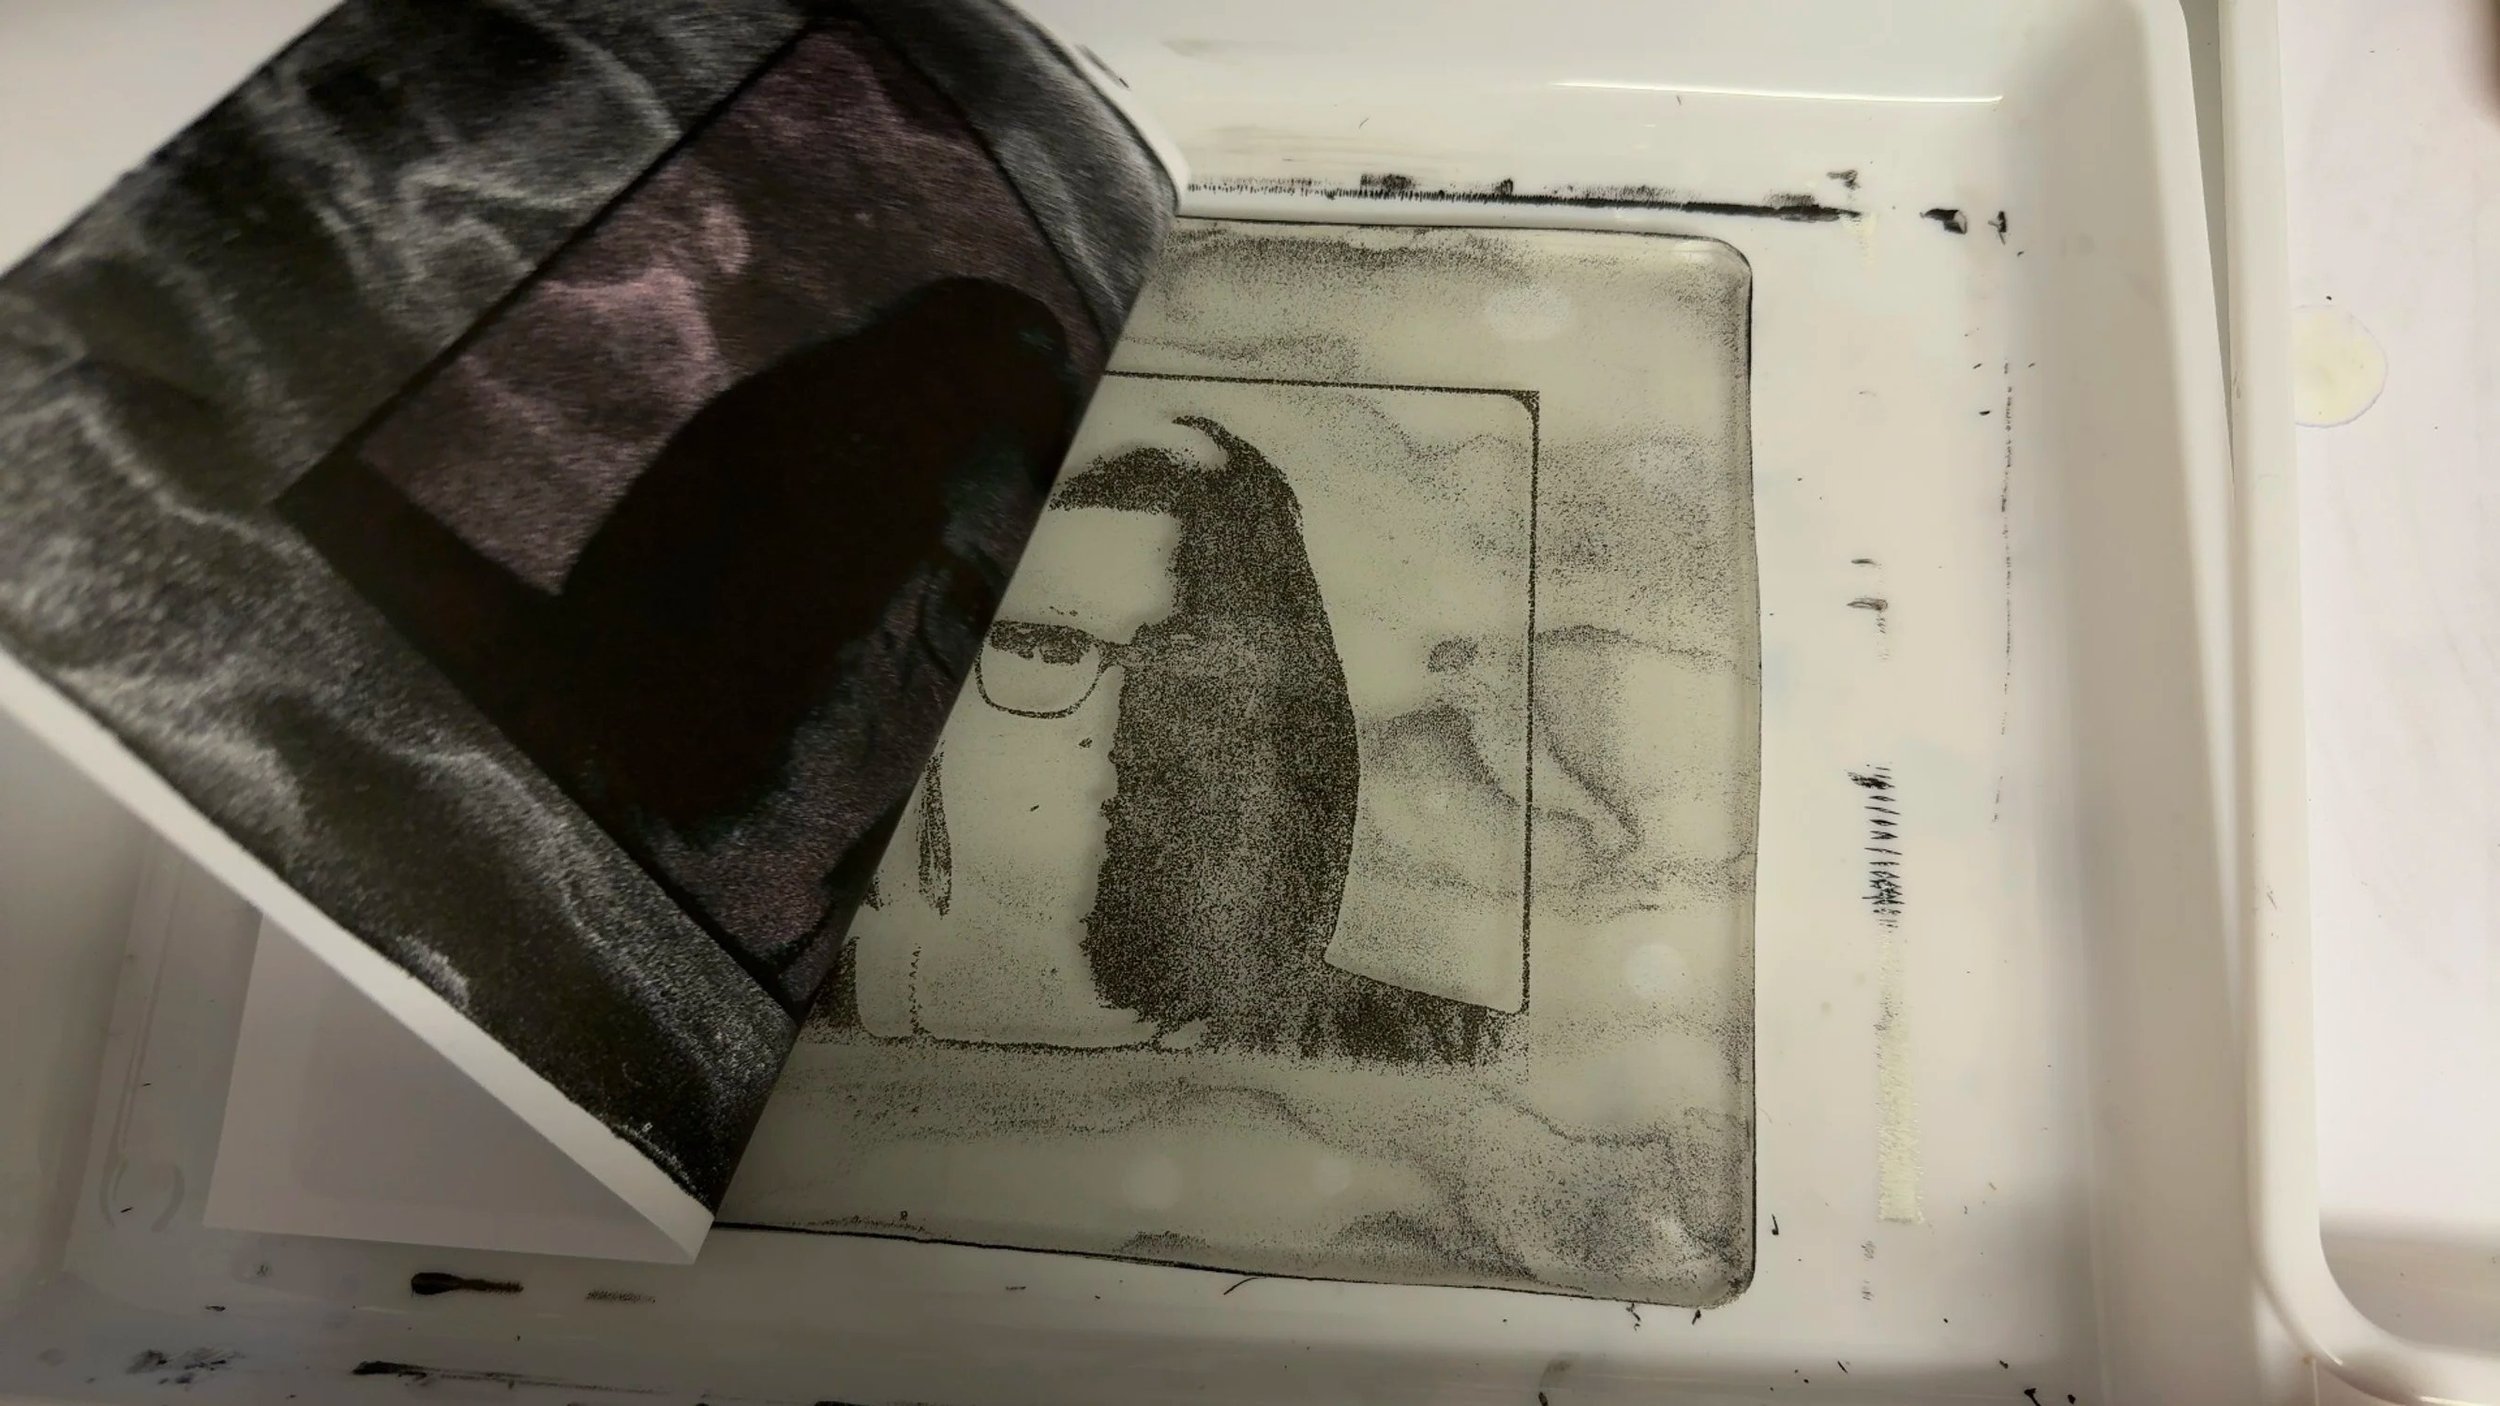
To create a cleaner contrast between the black and white, I wipe away any excess or unwanted paint with hand sanitiser gel and a microfibre cloth. After that, I check to make sure the paint is dry before adding a sparse layer of white acrylic paint. I apply it with a brush, then smooth it out with the brayer. I lay a sheet of printmaker's paper on top and smooth it down for around 30 seconds. Then, I add another gel pad on top to provide a bit more weight, leaving it to dry for a couple of hours.
After that, I carefully remove the extra gel pad and gently pull the paper from one side, making sure it lifts properly before continuing. If it's dry, I continue removing the paper from the gel plate; if not, I place the paper back down and let it dry a bit longer, then repeat the lifting process later.
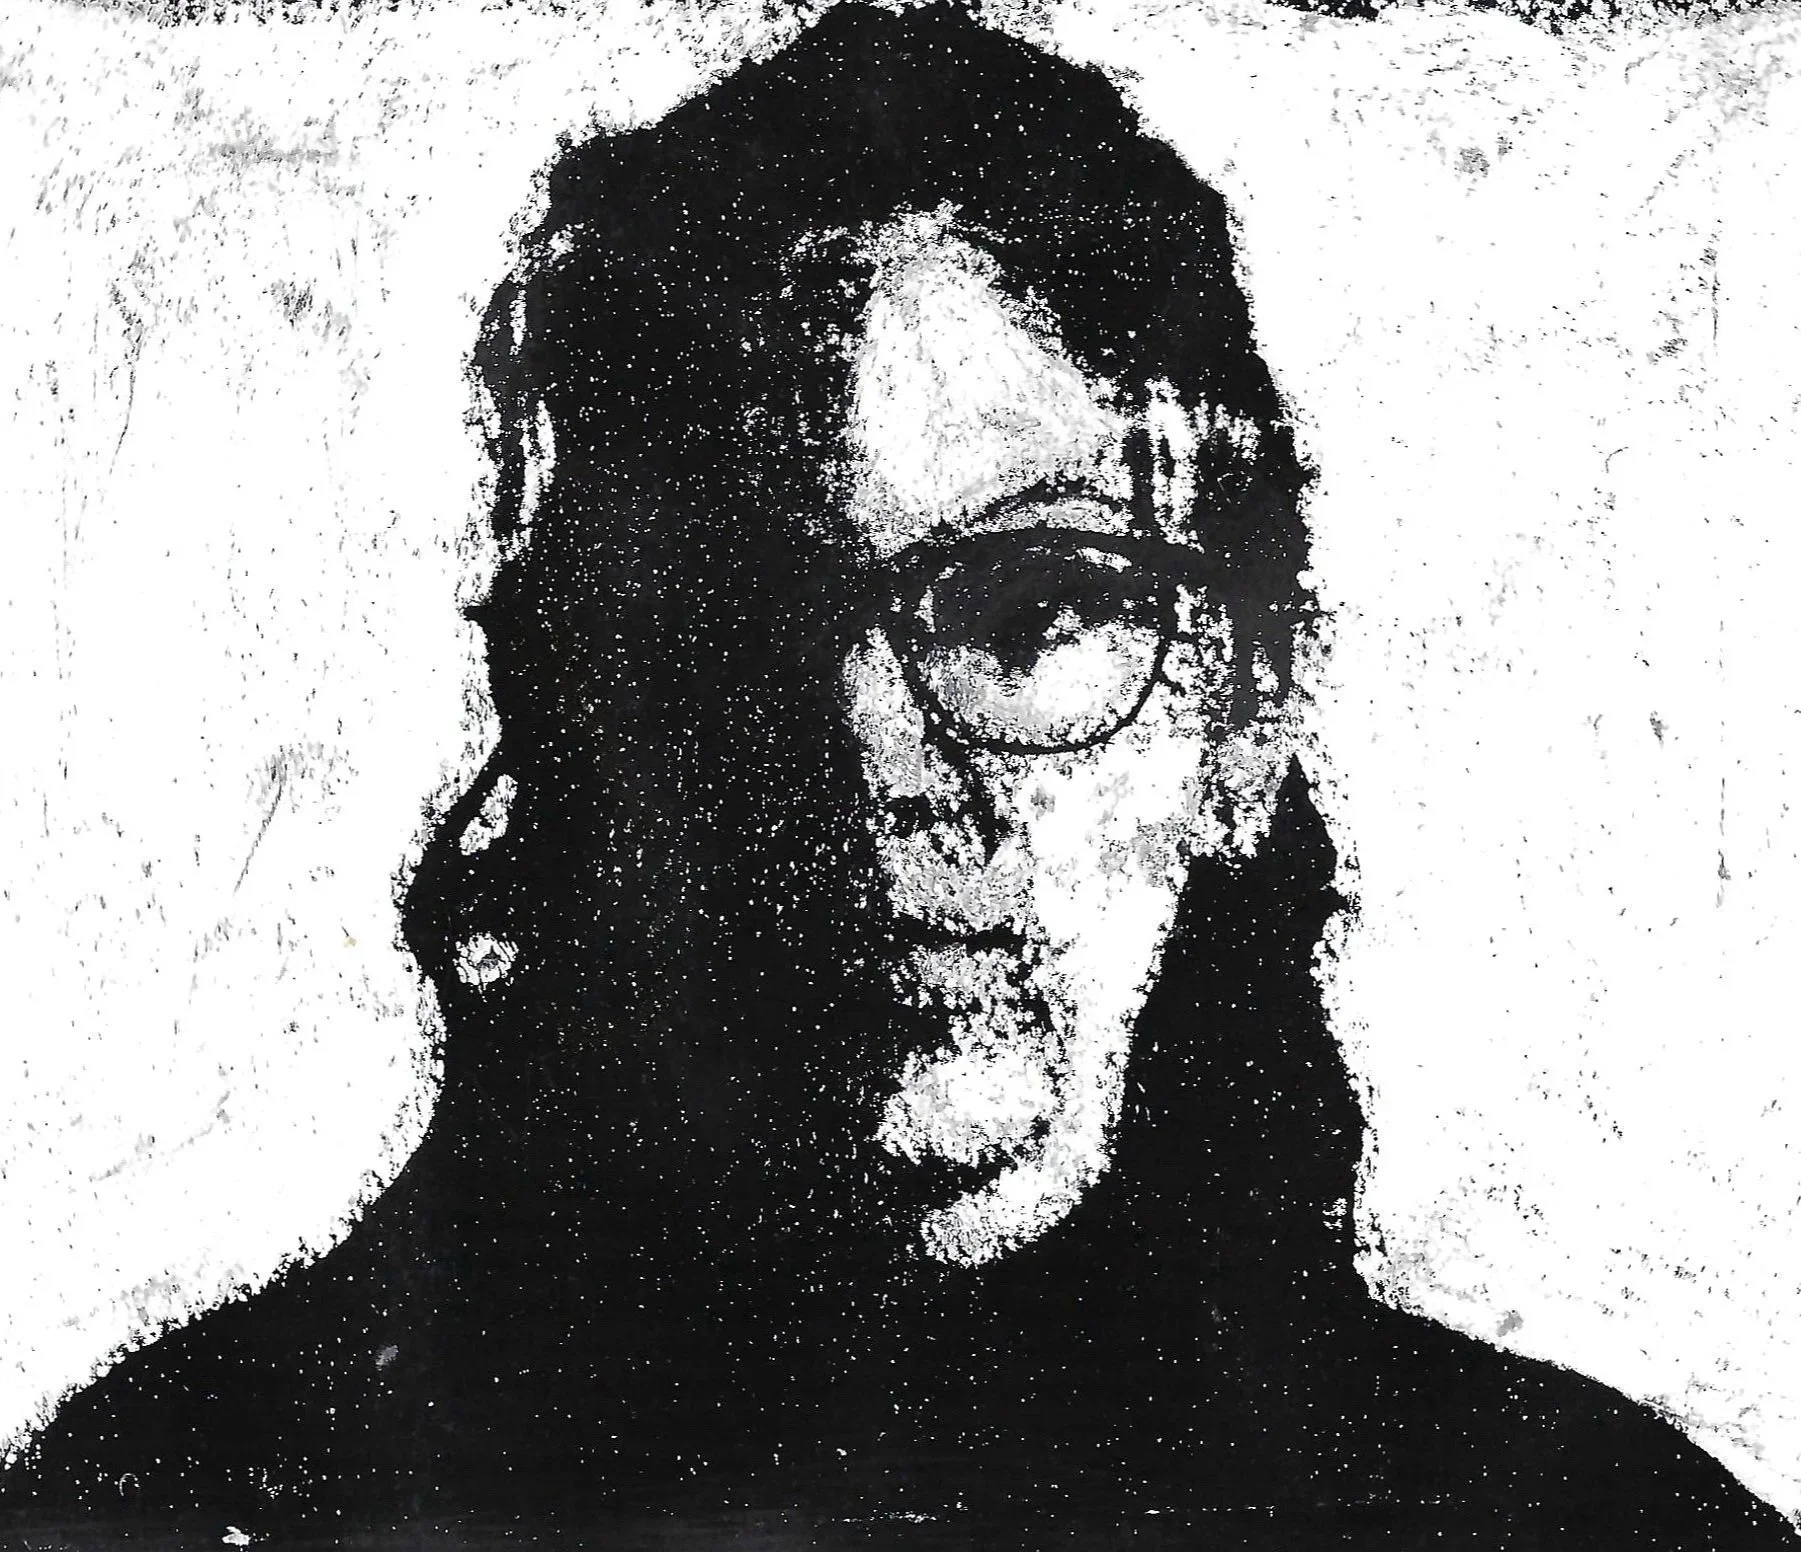
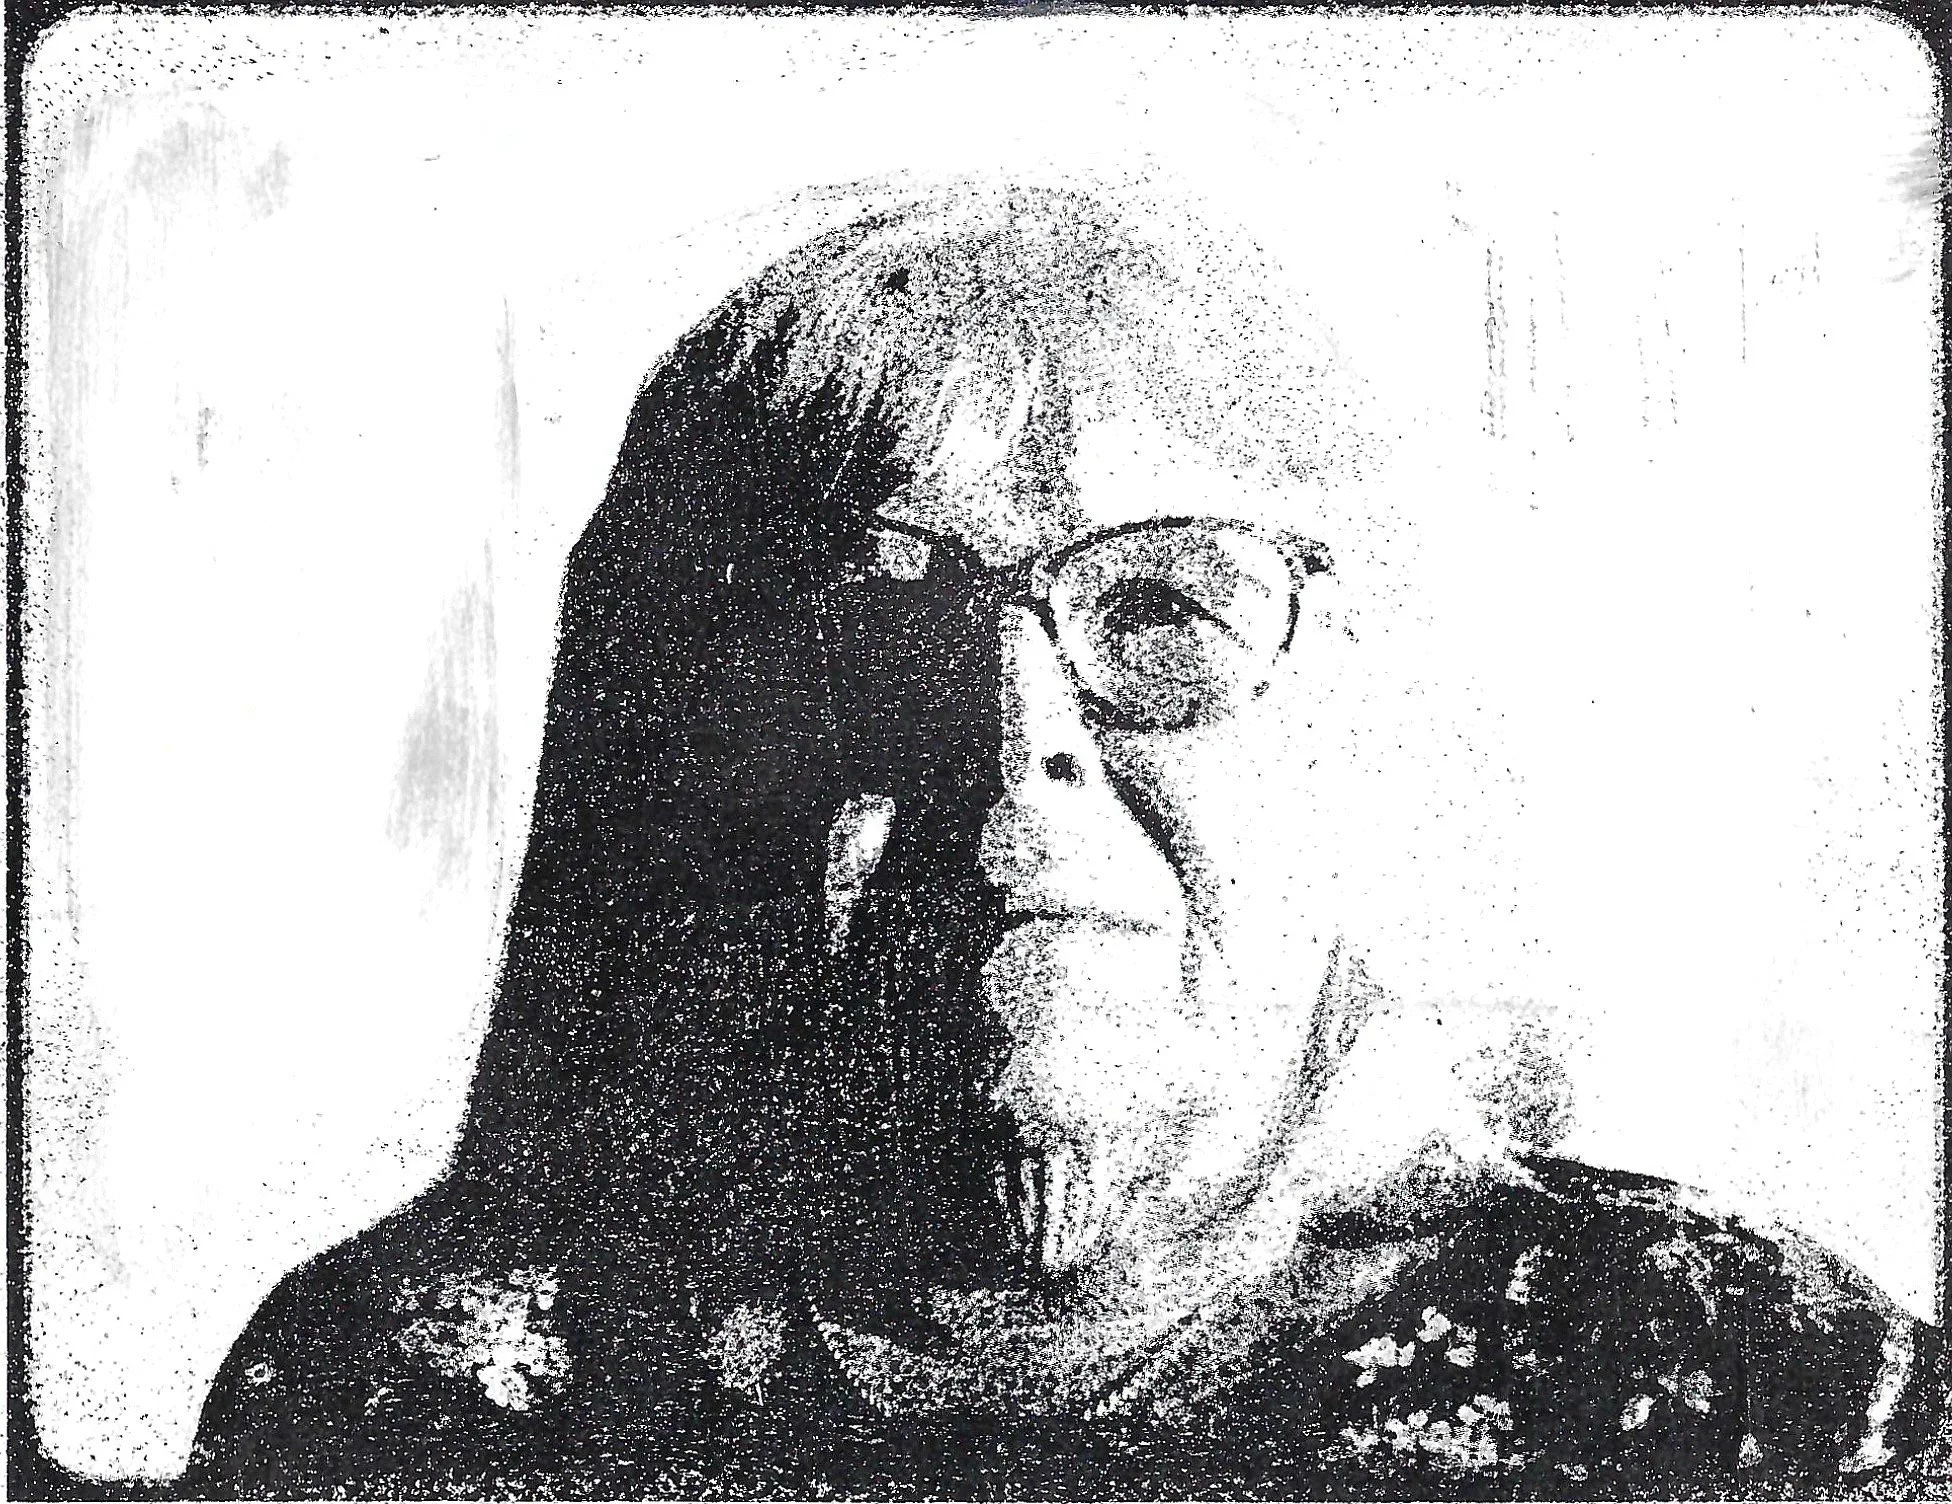
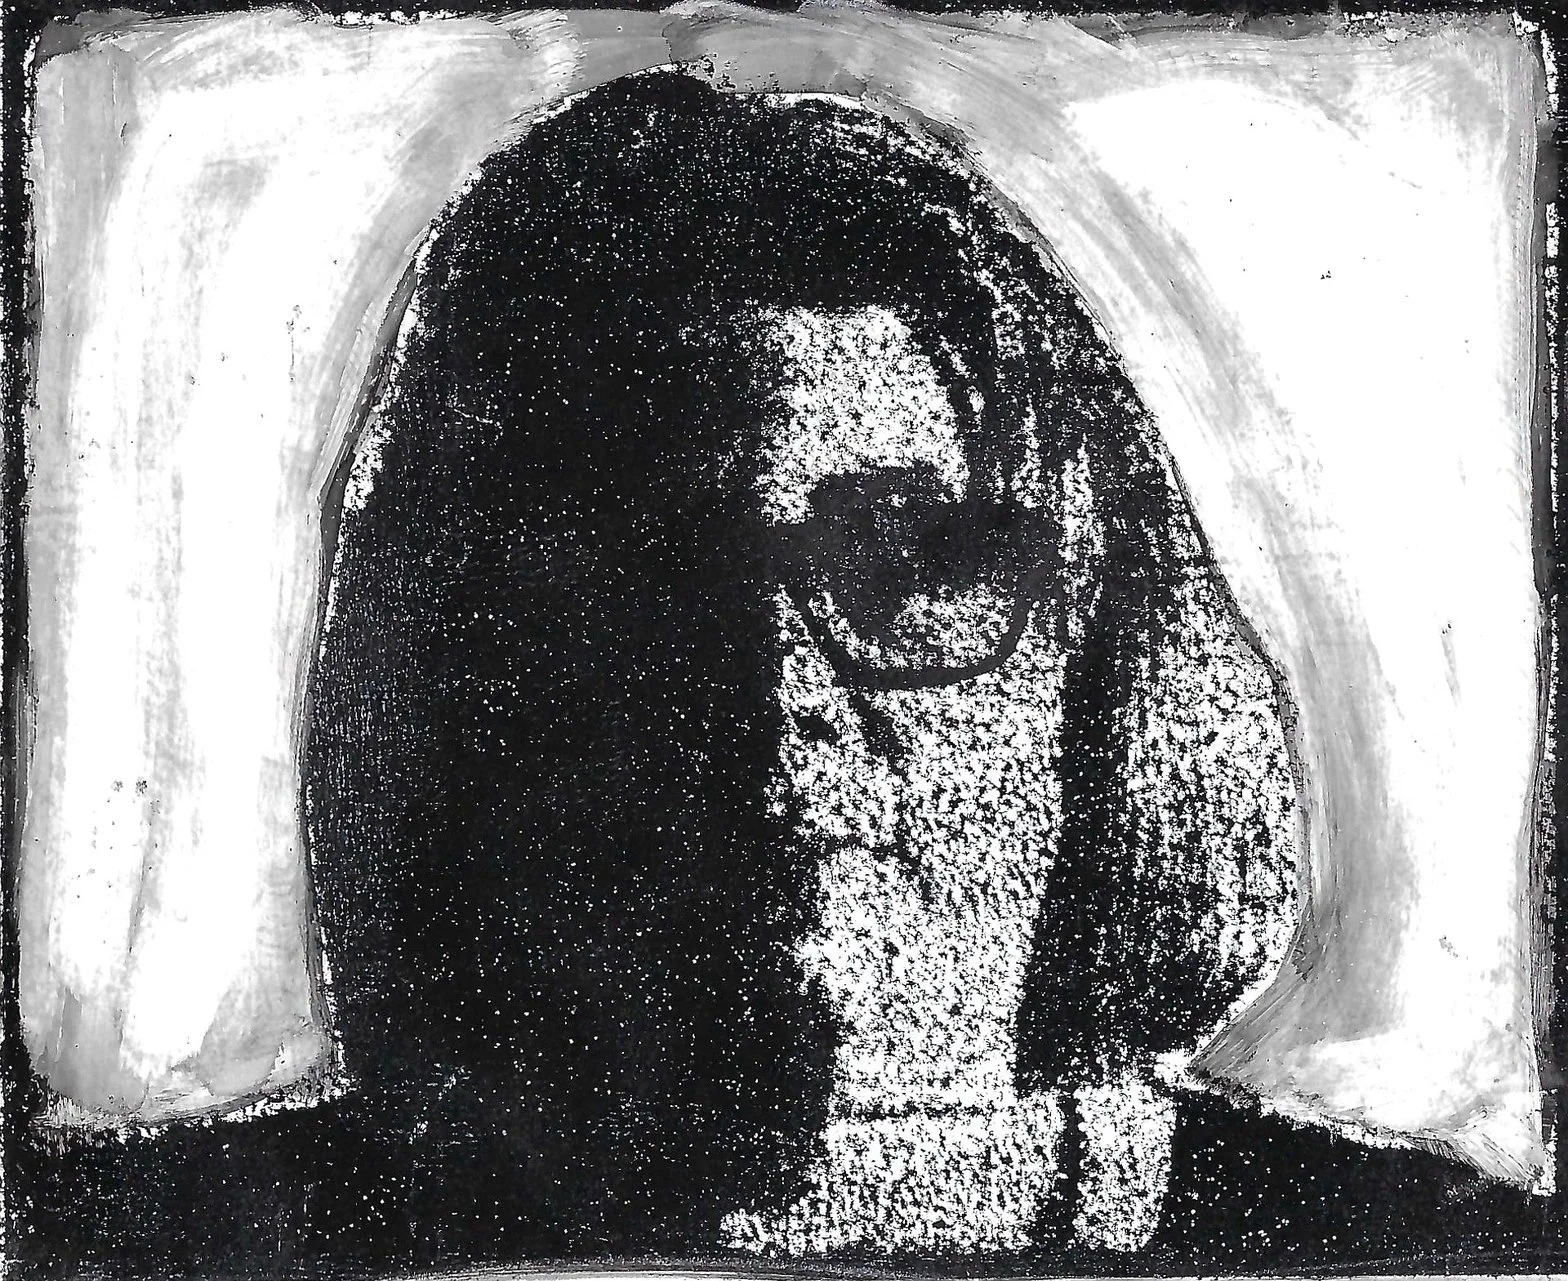
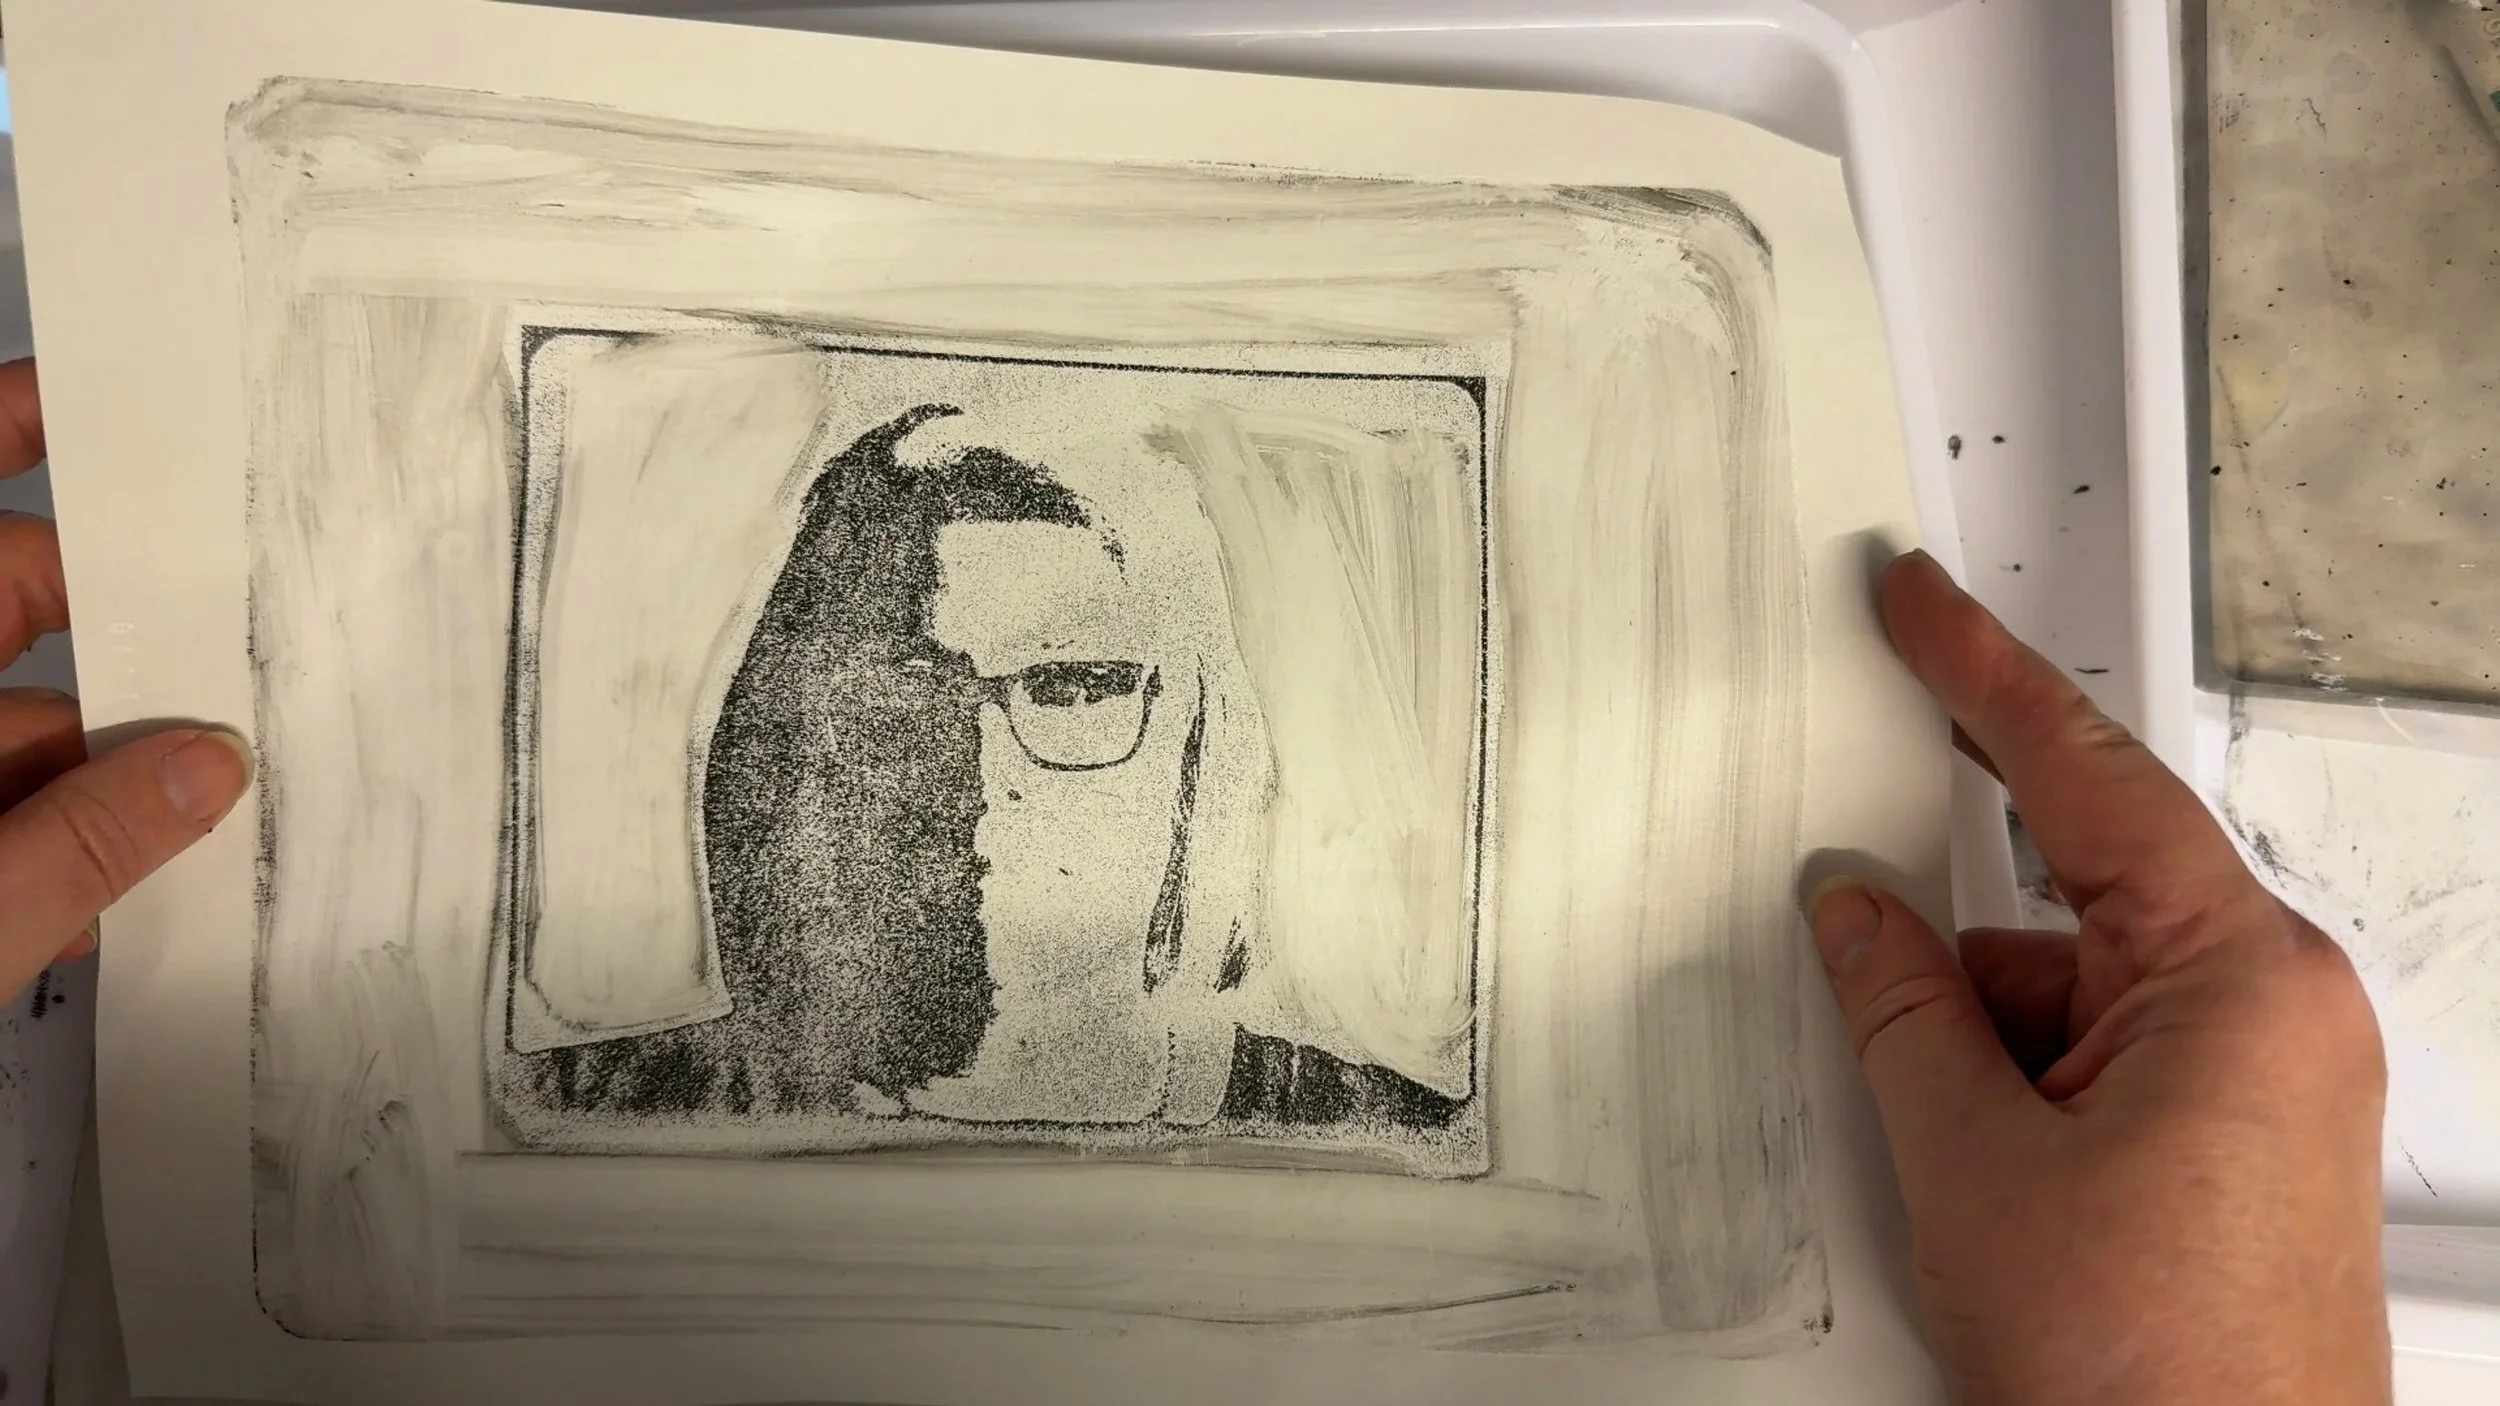
Final outcomes